Tutorial 5 - Cinemachine and Post-Processing


Cinemachine
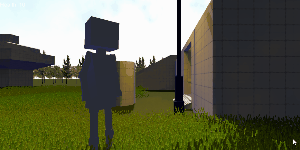
For this tutorial I looked at using cinemachine to create a better 3rd person camera as well as some of the other camera features that it has like being able to switch between cameras and other camera styles. The first part was adding in the settings for the cinemachine cameras and then making a camera that looked at the player. It was a little awkward to make get the camera in the right spot but I got to a reasonable position. The default settings were a bit extreme so I made some adjustments to smooth it out.
Before:

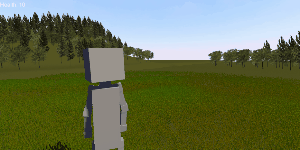
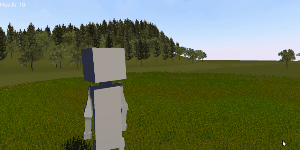
After:
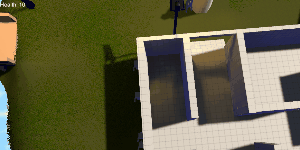
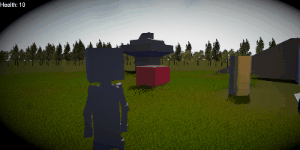
The next thing was making a camera transition. There are two cameras, one that follows the player and one with a top down view of the building. A trigger at the door switches between these two camera so you can emphasize certain areas or change perspective in something like a cut-scene. There are some settings available to manage these changes like speed and type of transition (hard cut, ease in etc) and I adjusted them to smooth the change a bit, mostly just by making it faster.
Camera Change:
Next I learnt about dolly cameras which are basically camera that are fixed to "rails" i.e they can't move off their rails. It's failry simple to set up and I can imagine being used in a 2D platformer with 3D elements to help create depth. I didn't play with the setting too much and you can see in the gif that it wasn't tracking perfectly.
Dolly:

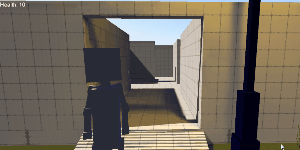
The final camera type I looked at was target group cameras. These try to include a whole group of objects in one view by look at the center of all the object. I created some enemies and put them plus the player into a group for the camera to look at. It's a bit awkward to get working right. It probably doesn't help nothing is really set up to accommodate this type of camera in this scene. It would probably look better if the enemies and player were designed with this type of camera in mind form the start.
Group Camera:

Post Processing
The next thing I did was use post processing to add different effects to the camera. This is pretty simple to set up as well and basically just requires adding components to the main camera that handle the different effects. The effects are also placed on a different "layer" in Unity which is better for runtime. The first effect was a basic vignette which I can best describe and adding a circle over the camera lens to view everything through.
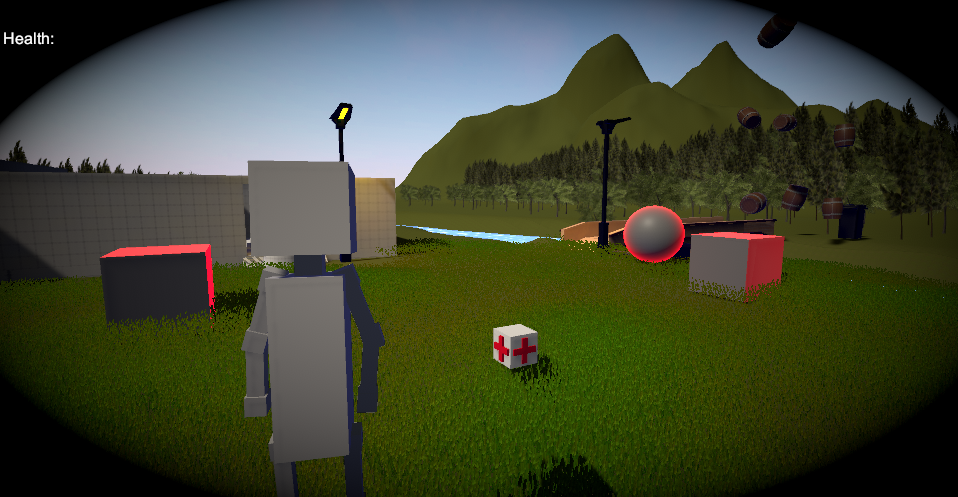
Overly Emphasized Vignette:
Effects can also be changed by different things in game like having the player walk into an area or by adjusting them based on a variable. This can be useful if the effect that you usually have doesn't match the area you are in or if the player gets to low health the screen goes grey. For the first test I made a box that if the player walks into it the screen goes dark and grey.

It works well but doesn't match anything to do with the scene so next I place a larger box in the river that would turn blue and grainy when the player enters.
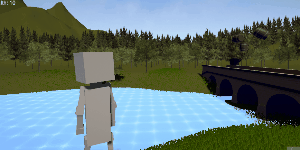
Doesn't really look that good but you get the idea. To make it better I would have to change the texture on the bottom of the river and probably make or get a custom shader instead of using film grain.
Leave a comment
Log in with itch.io to leave a comment.