Module 5 - Lighting and ShaderGraphs

Lighting
This week I learnt about the lighting systems for Unity and shadergraphs. To get an understanding of how lighting can be done in unity I followed this tutorial by Brackeys:
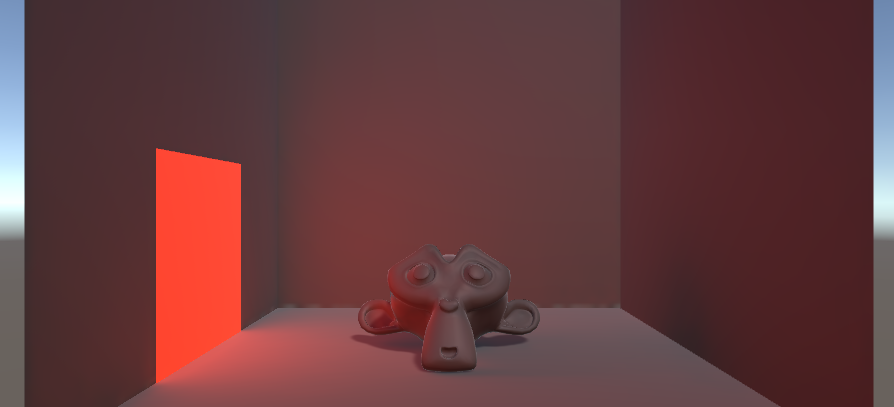
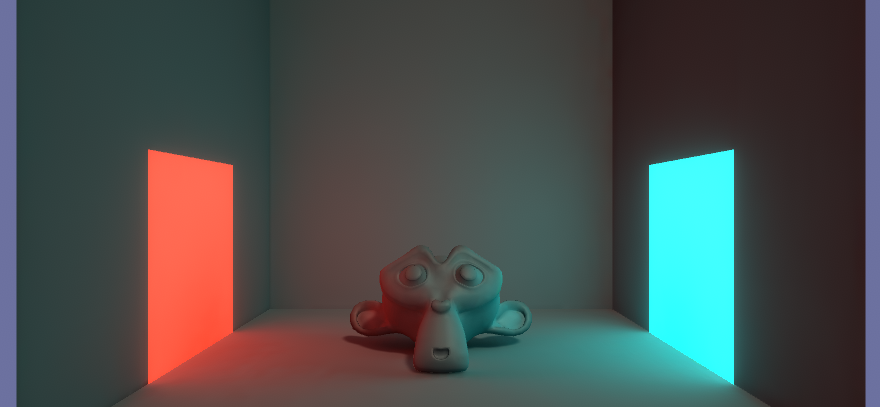
This tutorial teaches about the various ways lighting can be added to scenes with the main focus being creating baked lighting. This is essentially just creating a texture for the various objects in a scene and modifying them to appear as if they have been lit. This is much cheaper to than continuously calculating beams of light hitting and object. I used the scene provided and set it up like so.
The next part was to create a material for the plane that allowed it to simulate casting a light into the scene. Lights can be real time or baked with the real time lights obviously being the ones that require more calculations. Baked is good because it doesn't have to do anything at run time but it can still take ages to render the baked lighting for a scene. Even this small cube took a few minutes.
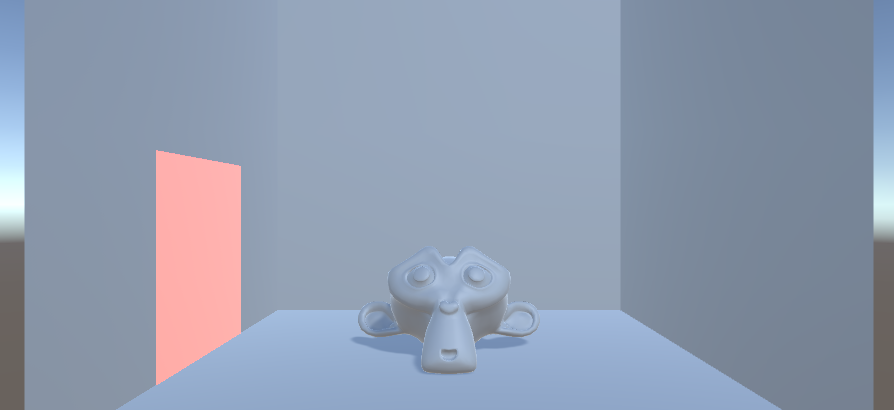
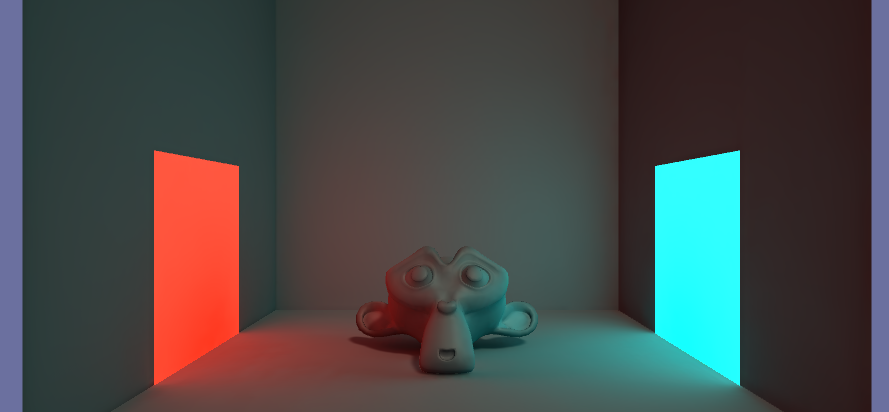
Next I added another coloured light and changed the skybox so that the scene was darker overall. This highlighted the colours being shown in the room as well as the shadows.
The renderer in Unity allows you to view the texture that gets generated for the baked lighting. For the screenshot above the lighting output was this.
You can see the colours represented in the texture. I find it interesting that the whole scene can be reduced to a plain and rendered in this way.
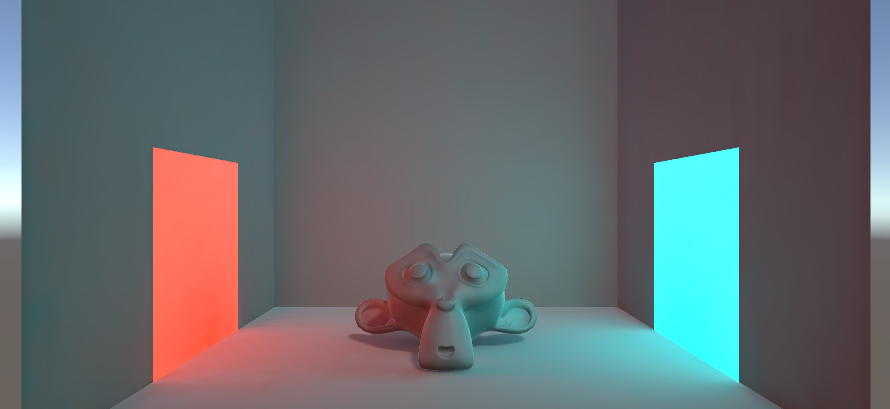
The final thing was to add some bloom lighting to the scene. This help to sell that the lights actually are lights. If you look at the above images you can see that the lights have sharp hard edges unlike real lights. Bloom helps to cover this up and generally makes lighting look better.
Shader Graphs
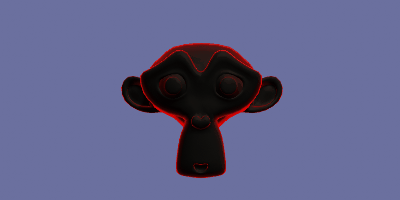
The next thing I did was learn about shadergraphs. Shaders are basically just visual effects that you can add to the game or to specific objects. That seems to be a large variety of what you can do with them as the shader graph package for unity allows you to combine all sorts of effects. To get a handle on how to use them I followed this tutorial by Brackeys:
The tutorial had me create a glowing effect of the monkey model from before. It's fairly straight-forwards and creates a nice looking effect. The nice thing about this shader is that in this case it is based on the position of the viewer ie. the outline is always on the outside. There was also a way to add a pulsating effect for some more flair.

Scene Updates
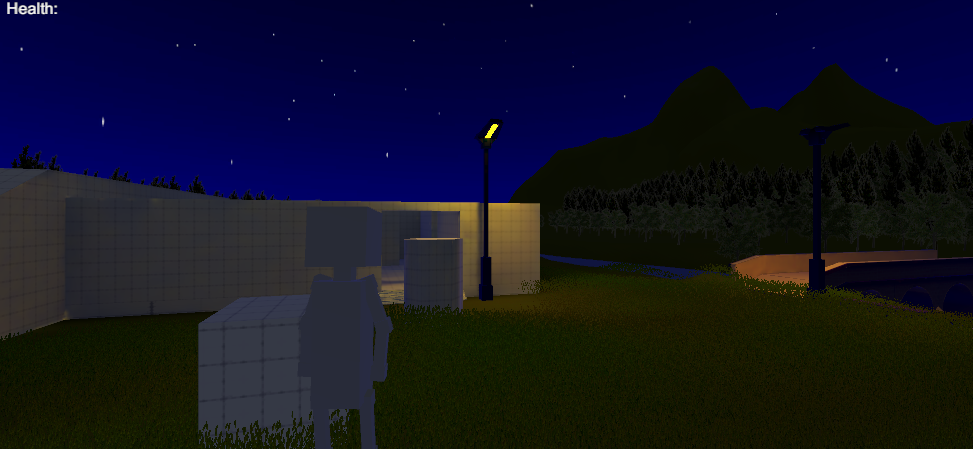
I practiced using the techniques I learned in the bridge scene I had made before. The first thing I did was implement some baked lighting. I decided that the lamp post I had put in the scene would be good practice for this. I had to make a small plane to represent the lights as the whole lamp is just one object and the light would emanate from the whole thing rather than the light itself. I also had to change the scene to a night time scene so that I could actually see the lights.
I looks pretty good although in hindsight I'm not sure if these are a good thing to bake. As they don't actually cast light the player isn't effected by them so it can look strange when you get up close to them. It's even more obvious because I made the scene at night. Another thing I noticed was how long it can take to do the lighting for these scenes. Because the terrain is so large it takes around 5-10 minutes to do. The scene isn't even that detailed so I can imagine that more complicated scenes would start to get very intense.
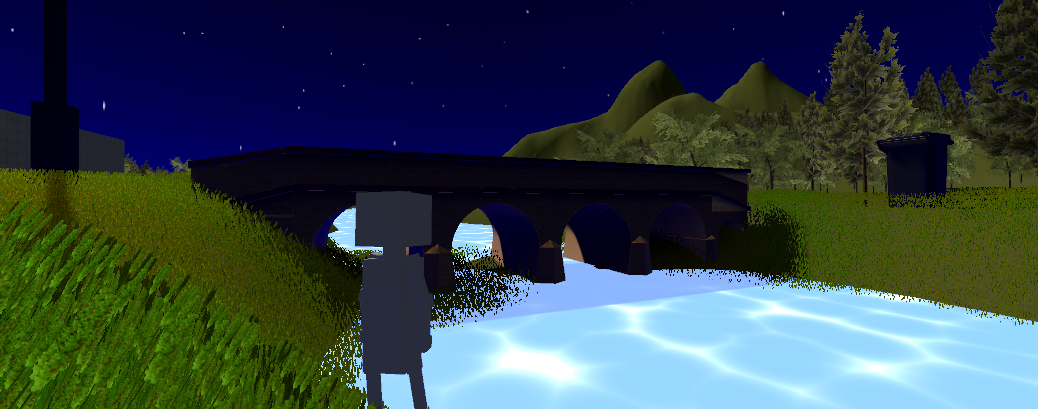
Next I used shadergraphs to improve the water texture. I followed this tutorial by brackeys on making water effects:
It turned out quite good but it was hard to see because of the night time lighting. In order to get a good screenshot I had to adjust the lighting so the scene looks pretty weird. At least the water effect looks pretty good.
https://assetstore.unity.com/packages/2d/textures-materials/sky/10-skyboxes-pack...
Leave a comment
Log in with itch.io to leave a comment.