Module 3 - Terrain and ProBuilder

Module 3
Terrain Tools
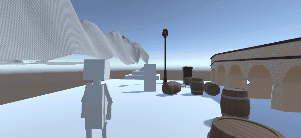
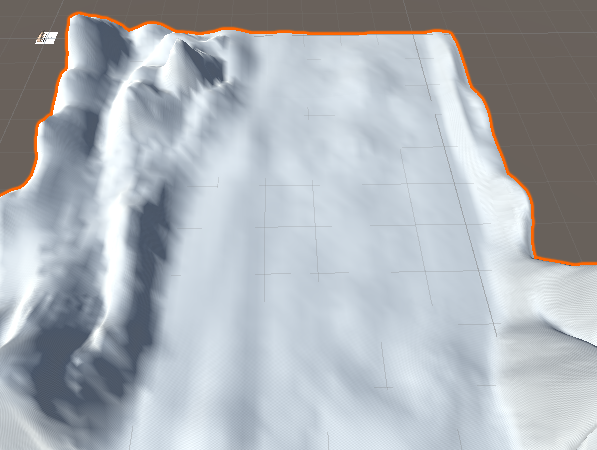
For this module I learnt about terrain editing and the ProBuilder tool. The terrain tools are fairly easy to use but seem like they would be harder to master. You are given a large plane that you can change the elevation of using various brushes. There are also a host of other options such as adding grass or trees. There was also the terrain tools package for unity which added more options to change the terrain like adding different types of erosion or cloning parts of the terrain. I played with some of the default brushes and got this result:
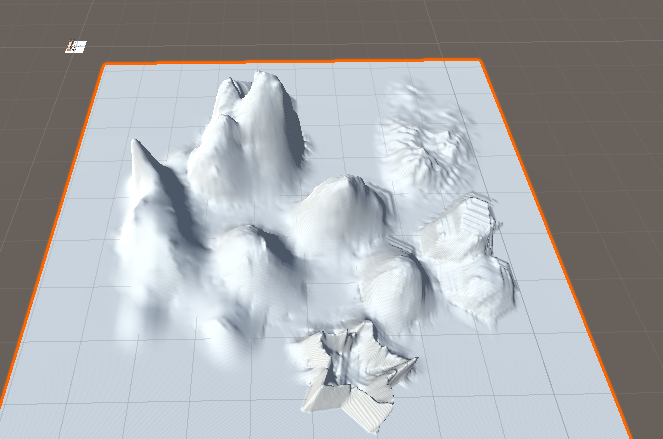
After using some of the better tools from the terrain tools package I made something that looks a bit smoother:
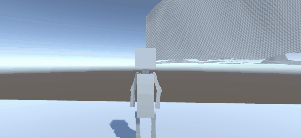
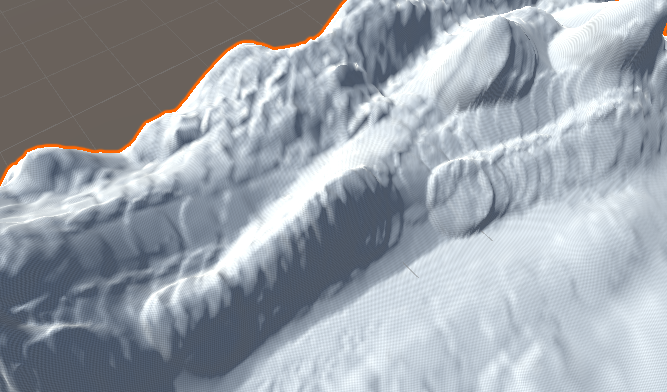
Terrain tools adds a few new brushes and the one I've used the most is "mountain ridge". They can makes some better looking hills than the default brushes. It takes a bit of adjustments to get the brushes to a decent spot though and it seems like to get the best results you would constantly need to adjust the strength and rotations of the brushes. If the settings aren't good you can get stuff like this:
It's obvious that a circular brush has been used here.
ProBuilder
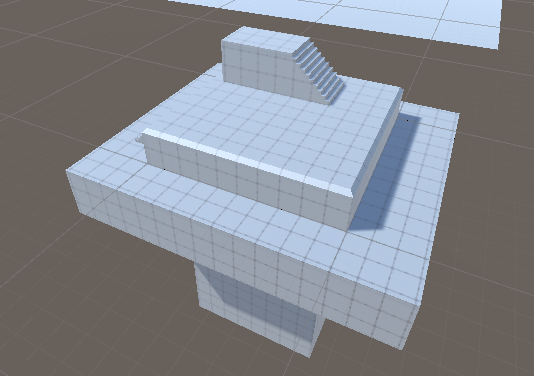
ProBuilder is fairly easy to use. To get started with I folloed this tutorial to create a simple building
It isn't too hard of a tool to use but it has a very large amount of options available which can be overwhelming. Making simple blocky buildings isn't too rough but I had some trouble cutting holes into walls for doorways. You can delete specific faces from an object that you make but actually creating those faces was surprisingly awkward. Plus after removing faces you get strange empty spots that took me a while to fix. I fell that it would be a good tool for making levels when you have gotten to grips with it but just like terrain tools it seems like a lot on time will need to be spent to master it.
Making a simple scene
Next I made some adjustment to the character to give them a proper 3rd person perspective form movement. This is easy enough to do as you can attach the camera to the play and it will automatically follow them. Probably not the nicest looking way to do it but it works fine for now.
(I had to decrease the size of the gifs to be able to upload them to itch)
Camera behind player

Moved camera to the side to give a better perspective

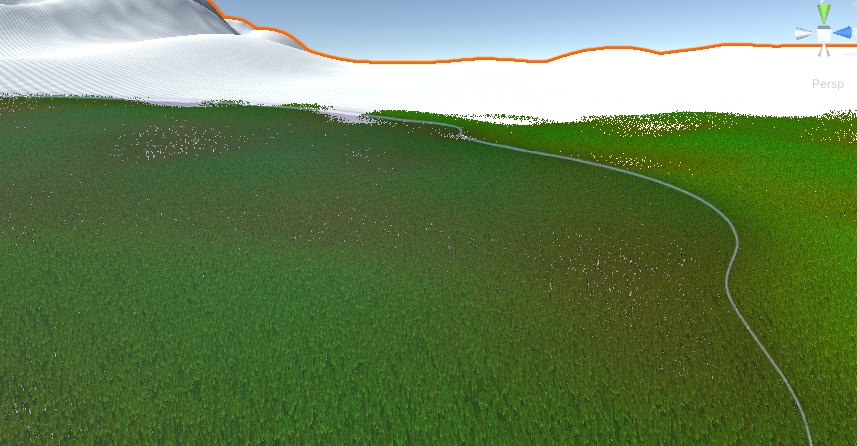
I started working on a terrain for the tourist attraction and made a river run through the terrain for the bridge to cross. Due to how terrains work you can't just dig into them. First you need to raise the terrain's height and then you can dig trenches. This is because terrains use a height map which cannot have negative values.
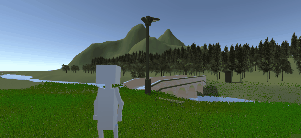
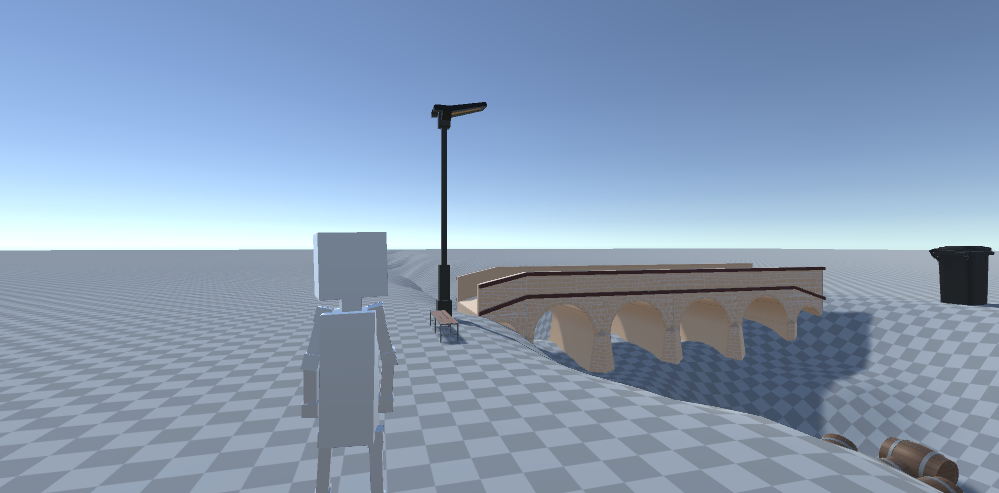
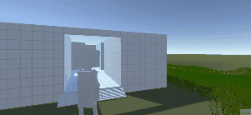
I next created a small building with some corridors to test navigation meshes on in the next tutorial. Then I made some more changes to the terrain including simple water in the river as well as grass and trees. The water is just a transparent plane coloured blue. I got the assets for the grass and trees from here:
https://assetstore.unity.com/packages/2d/textures-materials/nature/grass-flowers...
https://assetstore.unity.com/packages/3d/vegetation/trees/mobile-tree-package-18...
Building navigation
Scene with grass. trees and water

Leave a comment
Log in with itch.io to leave a comment.